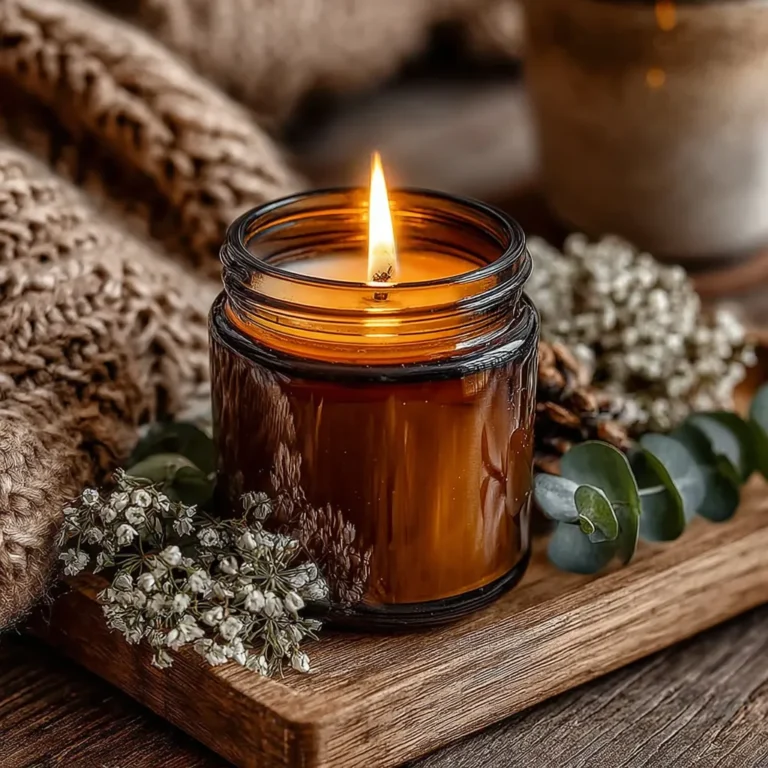
Before you start pouring your first candle, you’ll need a few simple materials. But don’t worry, you won’t need to buy much to get started—you probably have many of the items at home already.
Why Soy Wax is The Best Choice for Your DIY Candles
If you’re looking for a sustainable and clean-burning option, soy wax is your best bet. Derived from the soybean, it’s a plant-based, biodegradable wax that burns exceptionally cleanly without producing soot or artificial residues. For anyone wanting to approach DIY candles sustainably, soy wax is the perfect foundation.
Pro-Tip: Soy wax also has excellent scent absorption, making it ideal if you plan to use essential oils in your creations.

The Essentials for Candle Making
1. Containers – Give Old Items a New Life You don’t need new containers to make your own candles; you can easily upcycle old items. Whether it’s an old jam jar, an espresso cup, or a small decorative bowl, upcycling not only saves money but also makes each candle a unique piece. They are especially lovely as gifts or home decor.
2. The Wick – Small but Crucial It’s simple: no wick, no flame. You can either buy pre-made wicks or make your own from materials like cotton yarn. The most important thing is to ensure the wick sits straight and perfectly centered in your container. A simple clothespin or wooden stick placed across the rim of the jar will hold it in place, saving you a headache when it’s time to pour the wax
3. Scent & Color – For That Special Touch If you plan on making scented DIY candles, just add a few drops of your favorite essential oil into the warm wax. Consider lavender for relaxation or cinnamon for cozy evenings. You can add color using special wax dyes or even bits of old, colorful crayons or leftover wax. This is how you make every candle truly one-of-a-kind.
✅ Your Quick-Start Checklist:
- Soy Wax
- A glass jar or container (upcycling is encouraged!)
- A wick
- A small pot for melting
- Optional: Essential oils & color remnants
With these items, you are perfectly equipped to create your very first candle—sustainable, creative, and full of personality.
Easy Methods – Find Your DIY Style
There’s more than one way to make a candle, so pick the method that suits you best. Whether you prefer a simple approach or love experimenting with colors and scents, you can adapt the process to your style. Here are two easy methods to get you started right away.
Candles in a Jar – The Easy Classic for Beginners
This method is perfect for anyone new to candle making. All you need is a beautiful jar, some soy wax, and a wick.
Here’s how:
- Center the wick in the jar and secure it at the top (e.g., with a clothespin).
- Melt the wax in a double boiler (water bath).
- Stir in essential oils and color if desired.
- Carefully pour the wax into the jar and let it cool completely.
Pro-Tip: These make wonderful gifts. Try a cinnamon scent for the Christmas season or lavender for relaxing evenings.
Freestanding Candles – Simple, Elegant, and a Bit More Creative
Want to create a classic pillar or taper candle? You can pour these freestanding candles with or without a mold.
What you’ll need:
- Silicone molds or homemade paper rolls (e.g., from empty toilet paper rolls)
- Rubber bands or tape to seal the mold
- Parchment paper as a work surface
Here’s how:
- Set up and seal your mold.
- Center and secure the wick.
- Pour the wax and let it cool completely.
- Remove the mold, and you’re done!
Pro-Tip: If you don’t have a silicone mold, get creative! Old yogurt cups, tin cans, or homemade cardboard rolls work just as well.
Handmade Gifts from the Heart – DIY Ideas for Every Season
🎄 Wintertime = Candle Time
- During winter, nothing beats warm and cozy scents like cinnamon, vanilla, orange, or clove.
- An old jam jar decorated with some jute twine and a cinnamon stick makes a perfect gift.
🌸 Spring & Summer – Fresh and Floral
- In the warmer months, opt for lighter scents like lavender, lemon, or rosemary to bring freshness into your home.
- Candles look especially beautiful in colorful espresso cups or tea tins.
- You can also decorate the outside of the glass with dried flowers for an impressive finish (it’s best to keep them on the exterior, not in the wax!).
🎨 Make it Personal – Simple Decorative Ideas
- Add a handwritten label to the jar.
- Wrap a piece of fabric or decorative paper around it.
- Hang a small wooden tag or a name tag from the jar.
- These small extras show that someone put in the effort, and it really makes a difference.
Safety First: What You Absolutely Need to Know
Working with wax, heat, and flames is beautiful, but it’s not without risks. When making DIY candles, safety is just as important as creativity. Hot wax and open flames must be handled with respect.
How to Melt Wax Correctly
- Never heat wax directly in a pot on the stove, as it can overheat quickly and even catch fire.
- Instead, use a double boiler: Place a small pot with water on the stove and melt the wax in a heatproof glass or metal container placed inside it.
- Always stay present: Never leave melting wax unattended.
- Pro-Tip: A thermometer is very helpful. Soy wax melts optimally at around 50–60 °C (122–140 °F).
How to Secure the Wick Correctly
- If the wick isn’t secure or shifts, the candle can burn unevenly or even tip over.
- Center the wick before you pour the wax.
- Use a wooden skewer or a clothespin to hold it firmly in place.
- Pour the wax slowly to ensure the wick doesn’t move.

- Possible Causes: The wick is not centered. The wax was poured too hot or too quickly. There is too much fragrance oil or color dye in the wax.
- Solution: Secure the wick with a clothespin or skewer. Pour the wax slowly at 50–60 °C (122–140 °F). Use only a few drops of essential oil.
- This often happens as the candle cools. The surface sinks or cracks because the wax cooled too quickly or unevenly.
- Solution: Do not move the candle while it's cooling. Ensure the room temperature is not too cold. If a hole (a "sinkhole") forms, simply pour a little more melted wax over the top.
Absolutely! This is a particularly sustainable practice. When making candles from old wax remnants, you can sort the pieces by color and scent, melt them down carefully in a double boiler, remove the old wick pieces, and give the wax new life in a beautiful jar or as a tea light
- This is usually because the wax was too hot when you added the oil, causing the scent to evaporate. Other reasons include using too little essential oil or using low-quality oils.
- Solution: Stir the oil in when the wax is at approximately 50–55 °C (122–131 °F). Use about 5–10 drops of oil per 100 ml (approx. 3.4 oz) of wax. Always opt for high-quality, preferably organic, oils without artificial additives.


